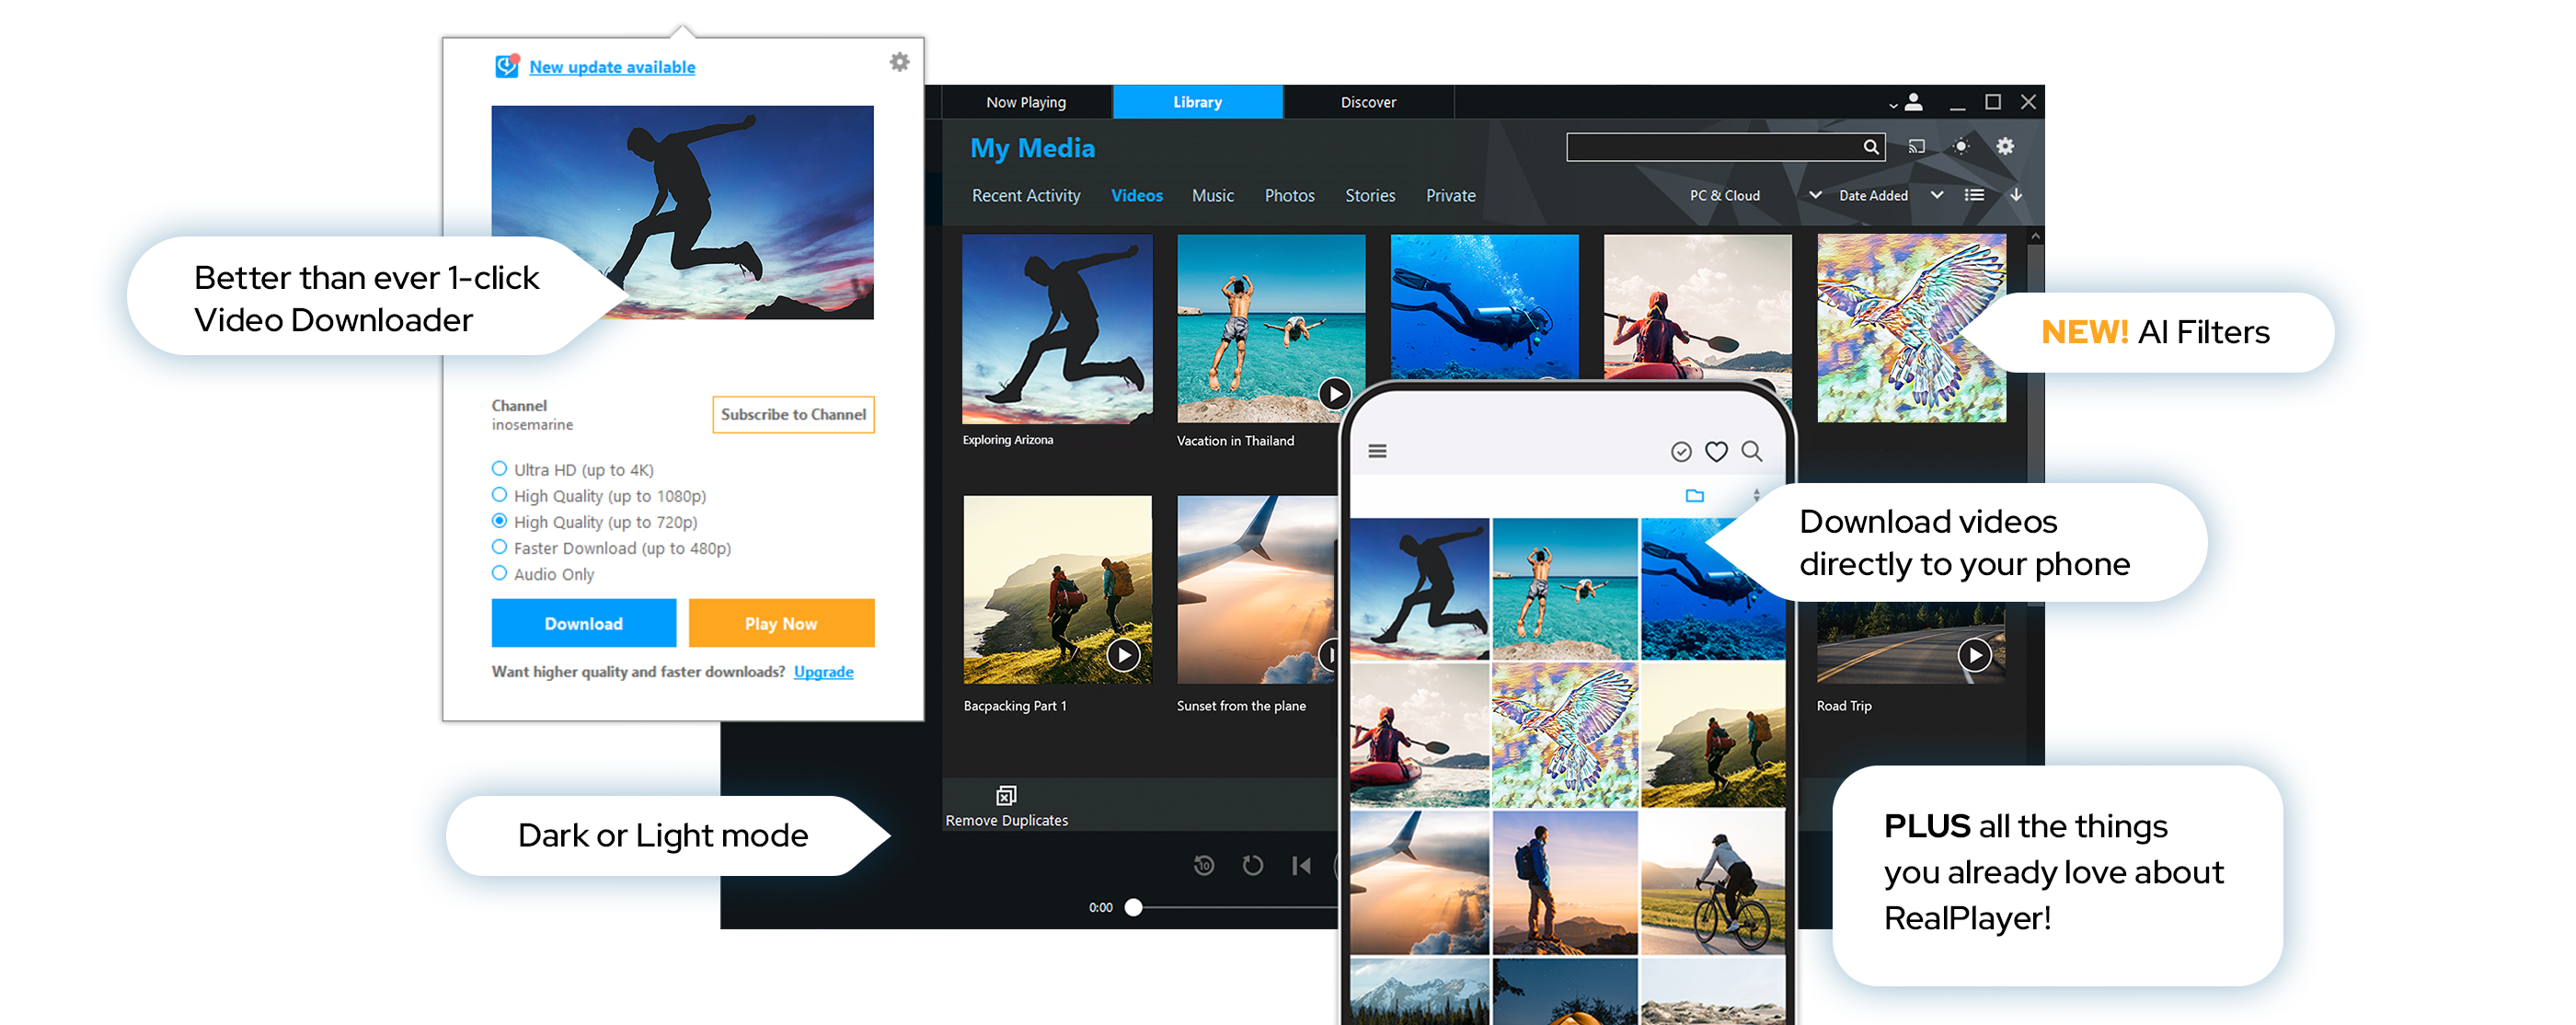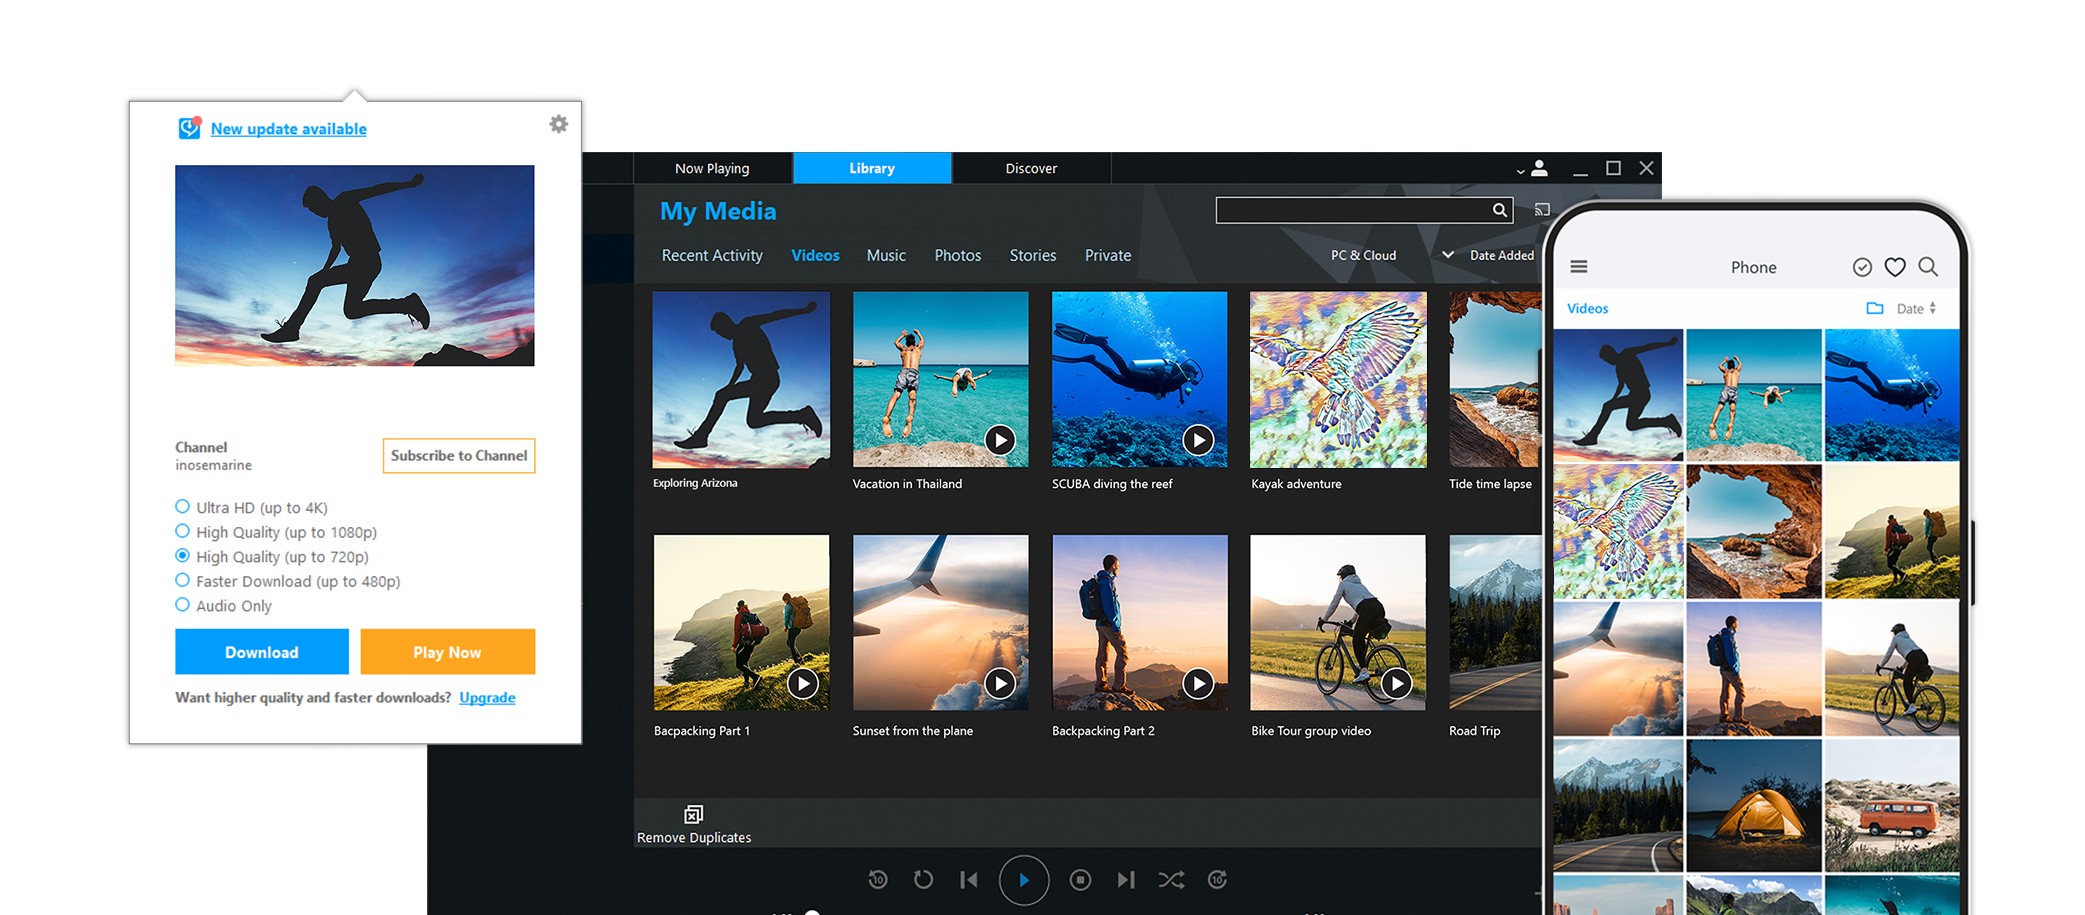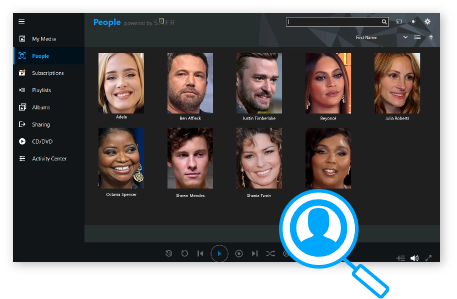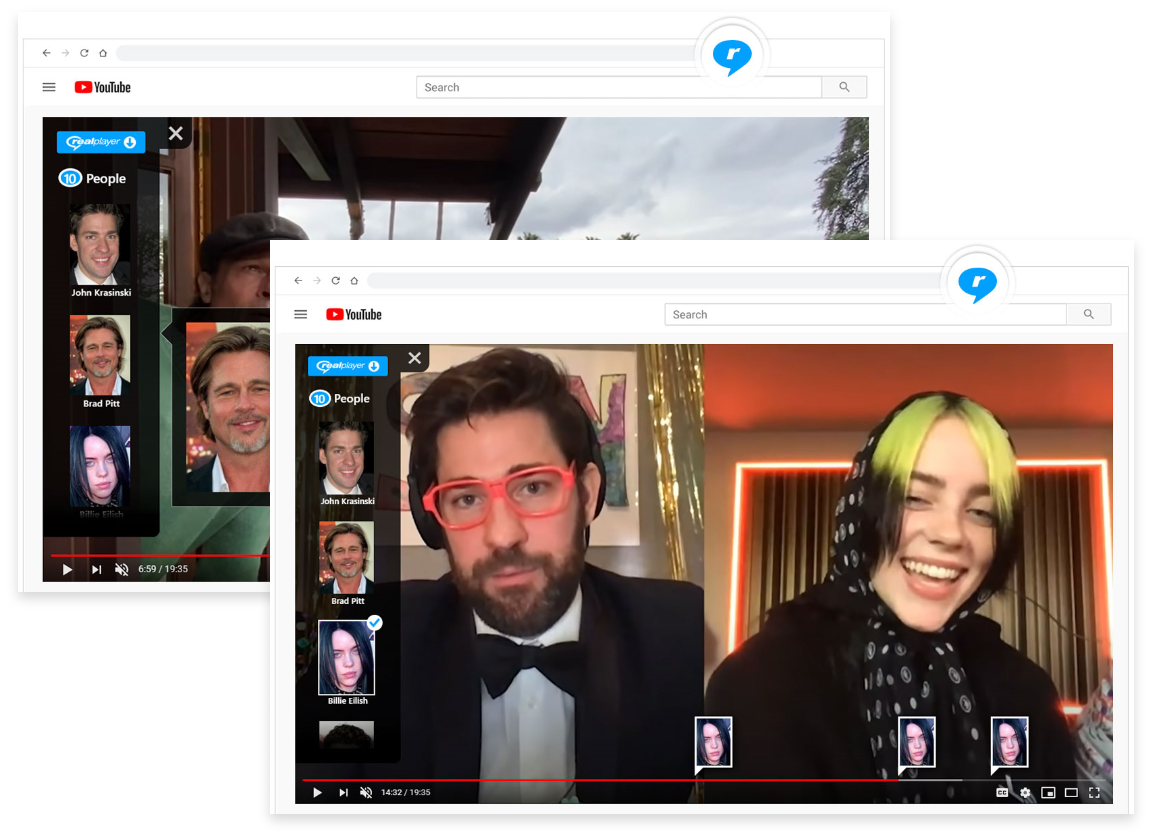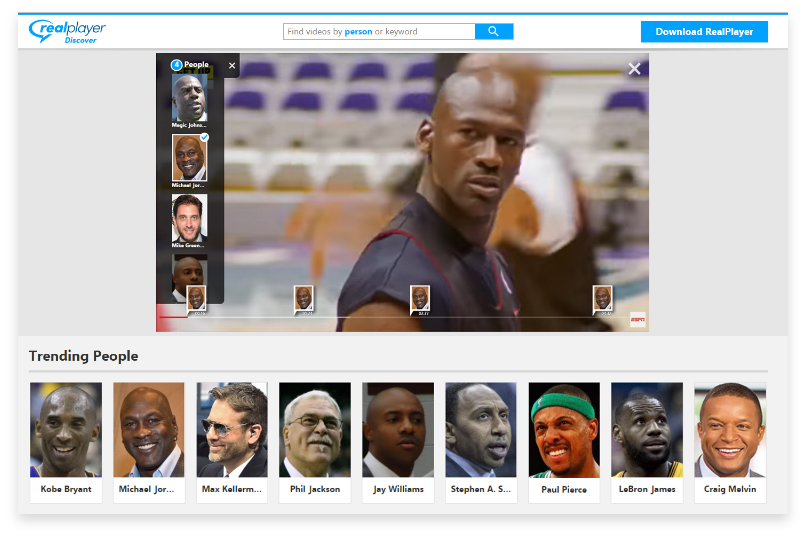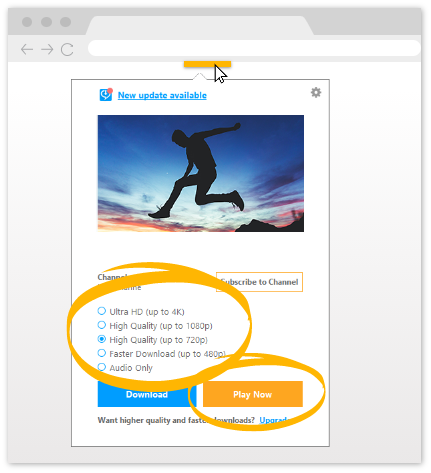
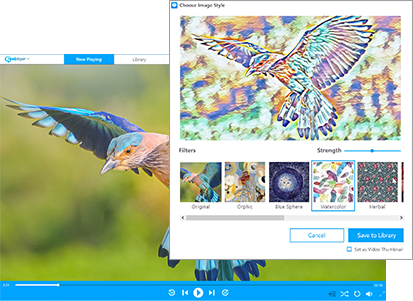
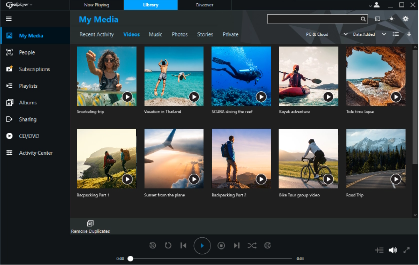
The fastest, easiest PC media player and organizer. Download videos from websites with one click, browse your videos according to the people you want to see, subscribe to YouTube channels and more!
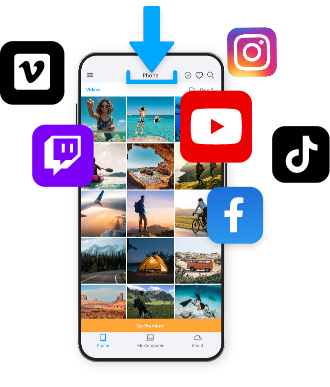
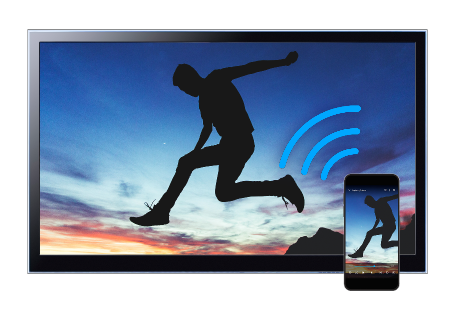
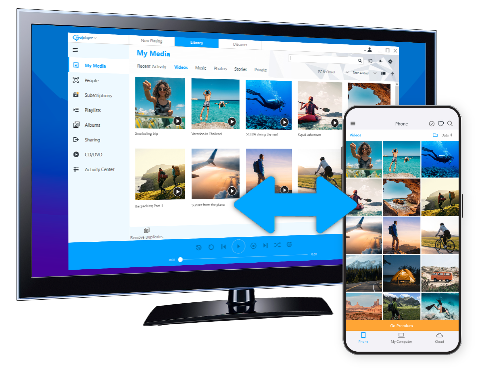
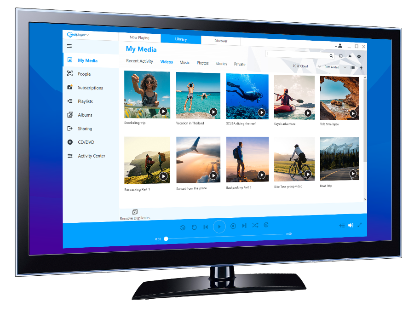
The must-have companion to RealPlayer. Access your RealPlayer library from anywhere, sync and watch videos offline, cast to the big screen, back up your videos to the RealPlayer Cloud and more!